
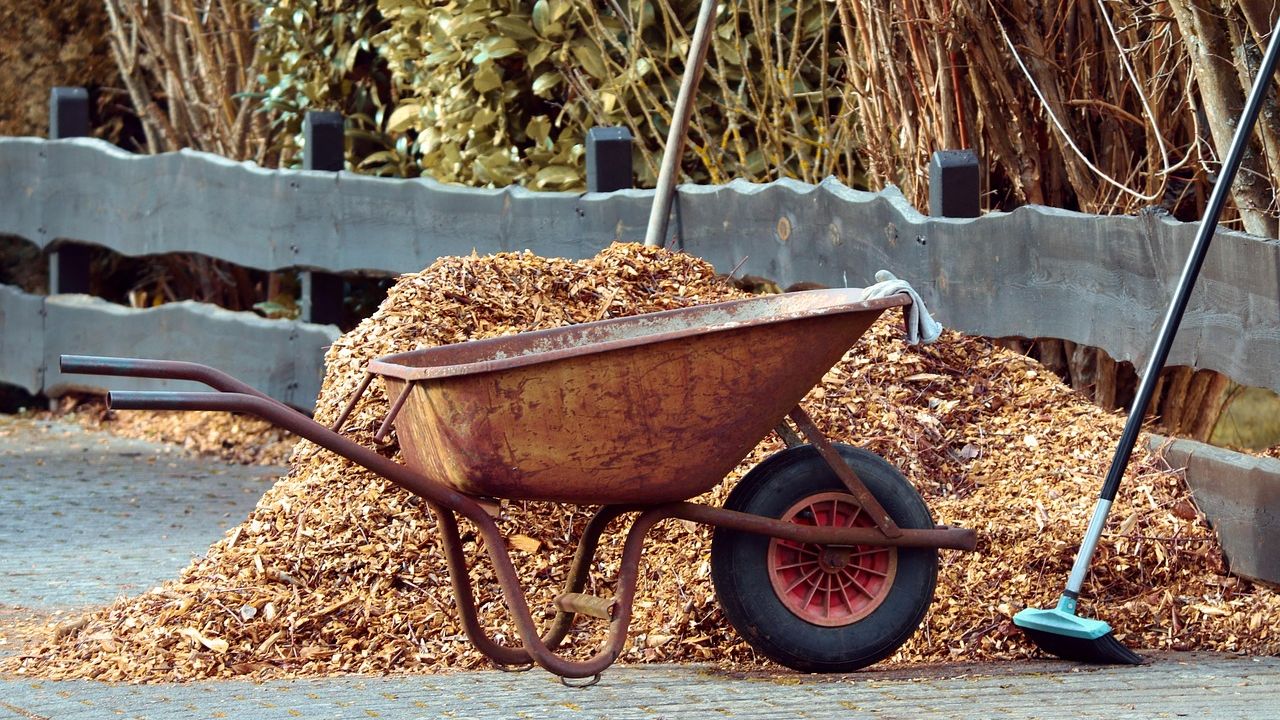
Most gardeners buy a few bags of mulch, scatter it around their beds, and wonder why weeds are back by July. The mulch isn’t the problem. It’s almost everything about how it’s being used. Experienced gardeners who practically never weed aren’t working harder – they’re working with a set of specific habits and hard-won tricks that most weekend gardeners have simply never been told.
Some of what’s on this list will genuinely surprise you. A couple of entries might make you realize you’ve been undoing your own work for years. That’s okay – the payoff once you shift course is dramatic. Here’s what the people who actually know their soil say works, starting with the step almost everyone skips before they even open a bag.
#18 – Always Weed the Bed First, Then Mulch Over Clean Ground
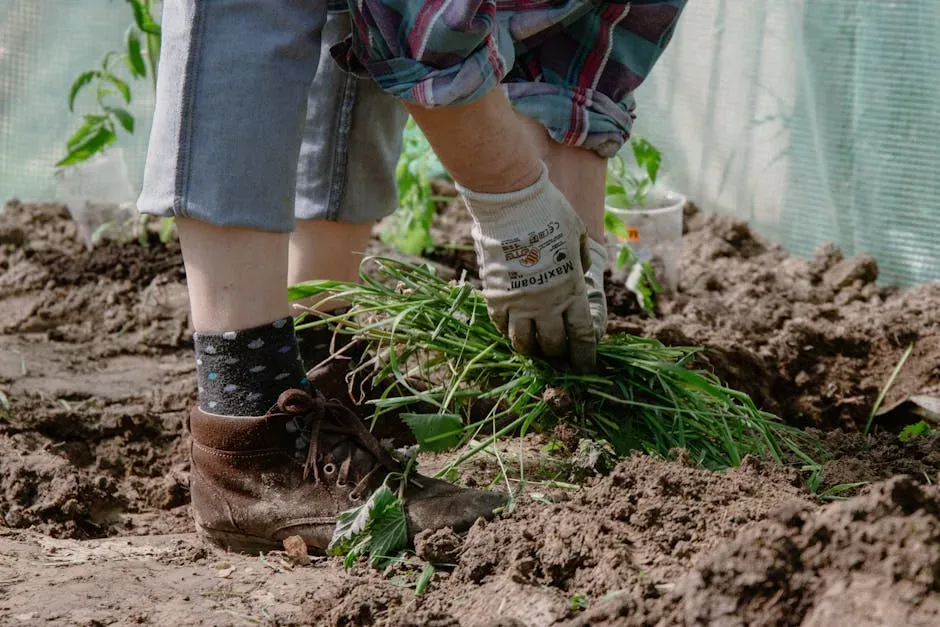
This sounds obvious, but it’s the step most people skip – and it quietly undermines everything else on this list. Applying mulch over active weeds doesn’t kill them. It hides them for a few weeks, and then they push right through. Now you’re pulling weeds through a layer of bark chips, which is messier and harder than pulling from bare soil ever was.
Clear the bed before you mulch, full stop. Pull perennial weeds by the root, hoe out the annuals, and treat anything stubborn. The five minutes you spend on clean soil can eliminate two hours of weeding later in the season. Mulch is only as good as the ground it covers – and that leads directly to a timing trick in #17 that most gardeners completely overlook.
#17 – Time Your Mulching to Kill the Weed Seed Bank
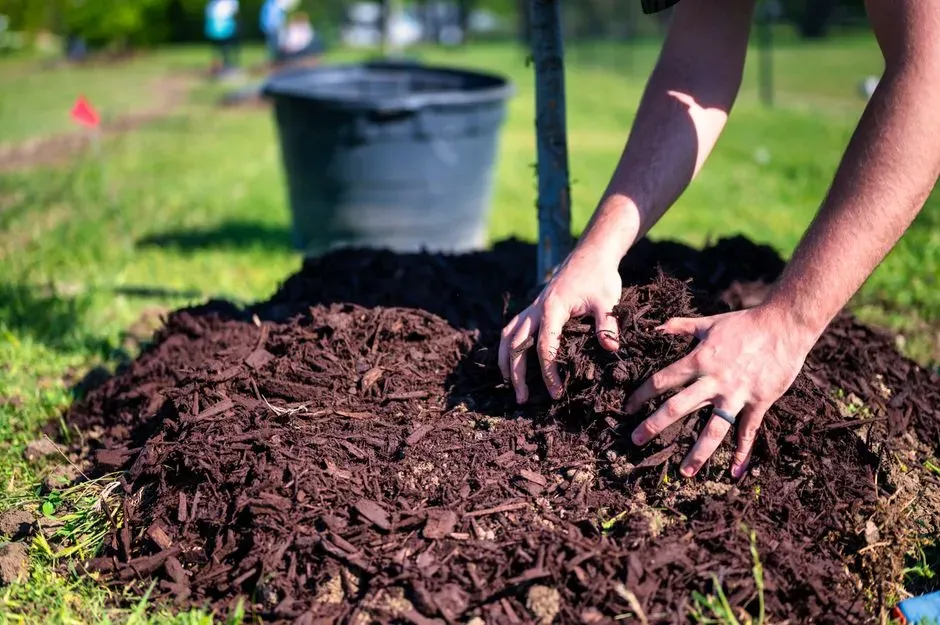
Experienced gardeners know that when you mulch matters almost as much as how you mulch. Weed seeds need warmth and light to germinate. Get mulch down before they activate, and you stop thousands of them before they ever sprout. Early-season weed control dramatically reduces the hand-weeding burden later – but only if your timing is right.
In spring, most people rush to mulch the moment the ground thaws – but there’s a smarter move. Wait for the soil to warm after the last frost before applying. Mulching too early over cold, wet ground can delay your plants while doing almost nothing to stop the flush of winter annuals already in the soil. In fall, a thick protective layer does double duty: it suppresses late-season weeds and insulates roots against freeze-thaw cycles. But depth is where most gardeners make a critical mistake – and #16 spells it out clearly.
#16 – Use the 3-to-4-Inch Rule, Not the “However Much Looks Good” Rule
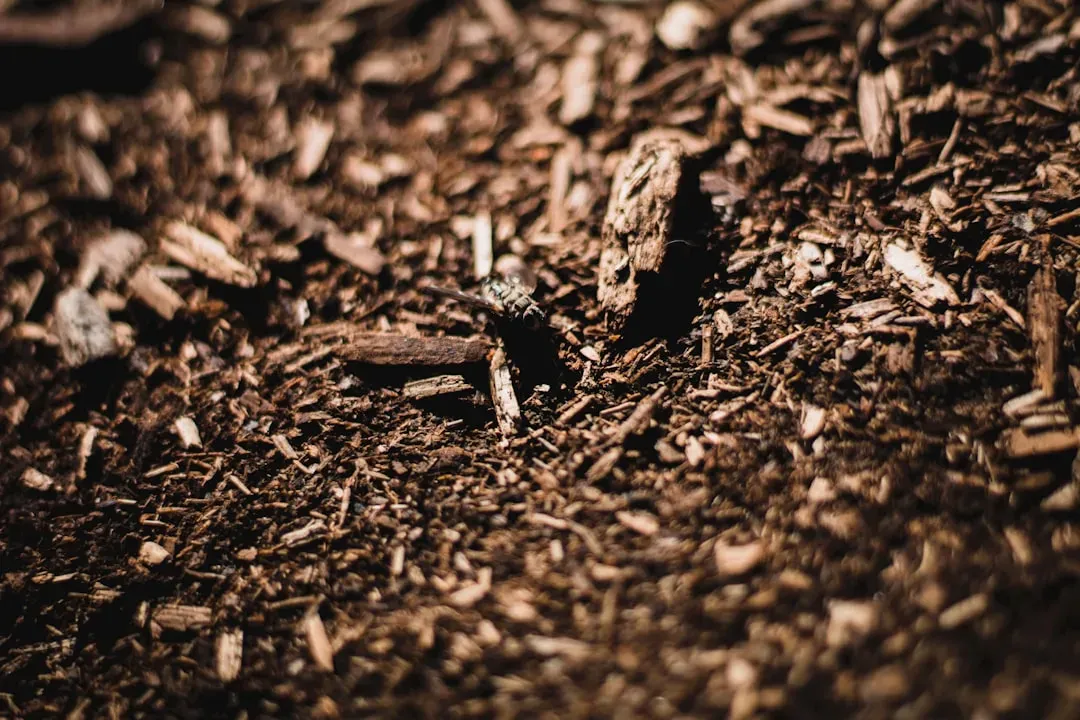
Walk through any neighborhood in spring and you’ll see beds with half an inch of mulch – just enough to look fresh but nowhere near enough to do anything useful. At that depth, you’ve essentially created a weed nursery with better aesthetics. The standard that actually works is 3 to 4 inches. At that depth, mulch blocks enough sunlight to stop most weed seeds from germinating, holds soil moisture, and begins building soil health underneath.
Going too deep is just as bad. More than 4 inches can suffocate plant roots and create drainage problems. The sweet spot is that 3-to-4-inch window – that’s where mulch earns its keep. For new beds, start at 3 to 4 inches, then top-dress each year with about 1 inch to maintain depth without compounding into a damaging pile. But depth alone doesn’t win the weed fight – texture does, and #15 reveals which mulch grade actually locks weeds out.
At a Glance: The Depth That Actually Works
- Under 2 inches: Looks fresh, does almost nothing – light still reaches seeds
- 2 to 3 inches: Basic suppression, but thin spots let weeds sneak through
- 3 to 4 inches: The proven sweet spot – blocks light, retains moisture, builds soil
- Over 4 inches: Can suffocate roots and create drainage problems
- Annual top-dress: Add roughly 1 inch each season to maintain the barrier
#15 – Choose Triple-Shred Over Single-Shred for Tighter Weed Suppression
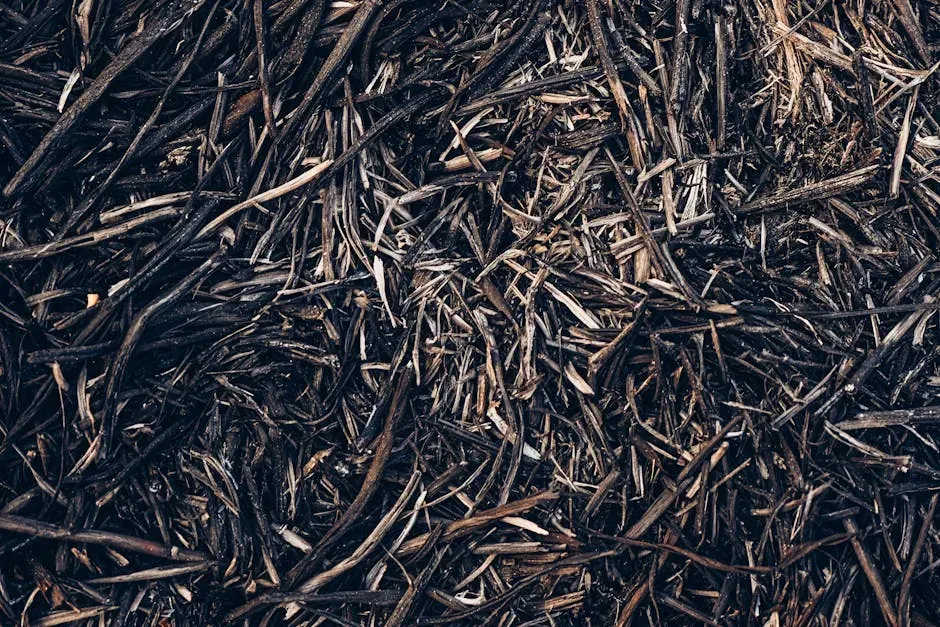
Not all mulch is milled equal. The finer the texture, the tighter the particles lock together – and tight packing is what actually blocks light from reaching the soil. Triple-shred mulch provides the best weed suppression because its fine, uniform pieces knit together with fewer gaps. Single-shred and double-shred still help, but their larger pieces leave more space for sunlight to sneak through.
Anything with pieces larger than about 1.5 inches can let weeds grow straight up through the gaps, even at adequate depth. That said, coarser mulch still has its place – around established trees and large perennials where you want slower breakdown and better airflow. The lesson is to match texture to the job. But before you choose any mulch at all, there’s a prep step most people skip every single season – and #14 explains why skipping it quietly sabotages your results.
#14 – Loosen Old Mulch Before Adding New Layers Every Season
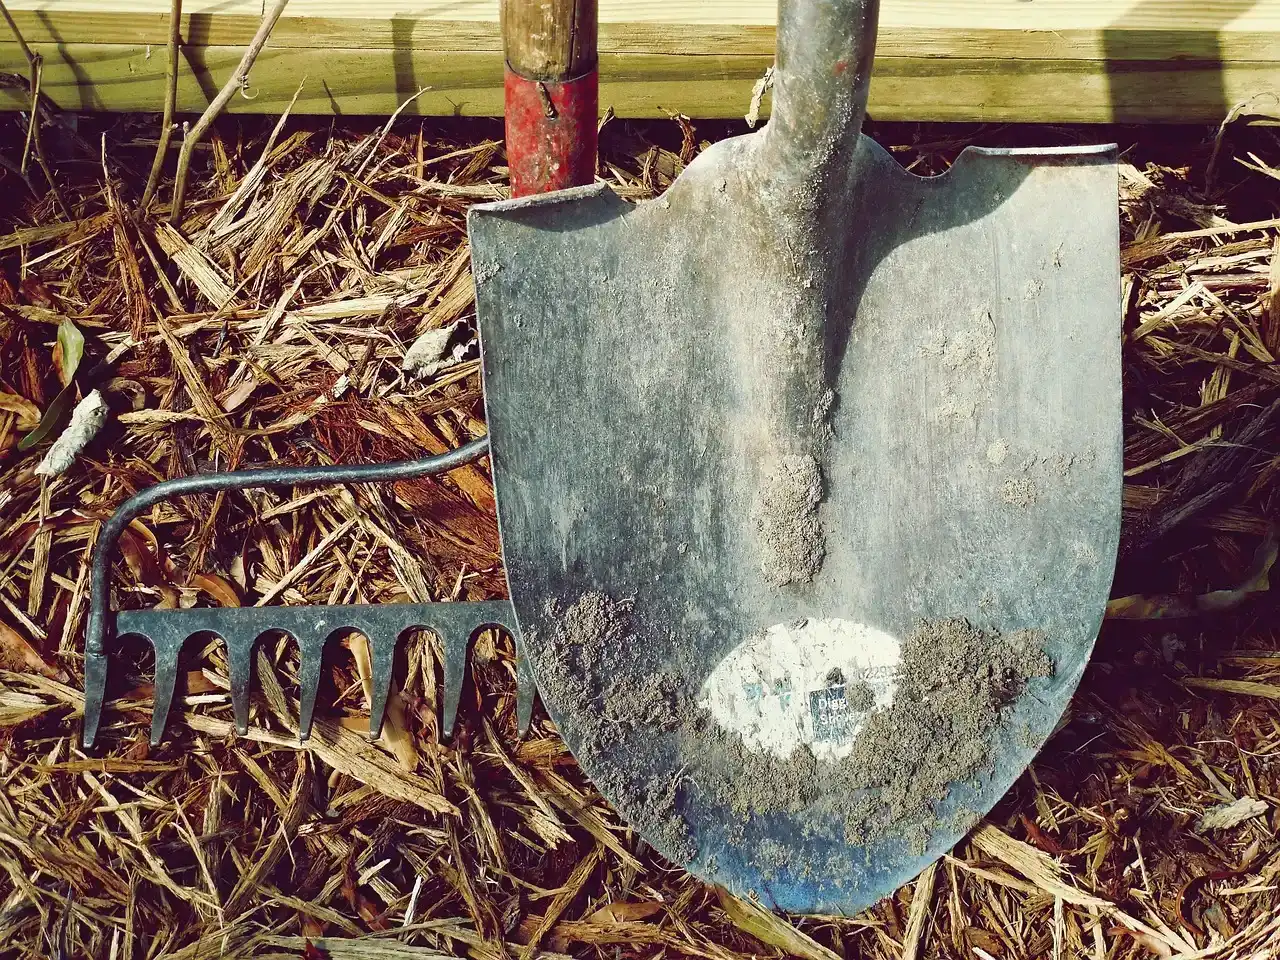
Here’s what happens to mulch nobody warned you about: after a season of rain, heat, and foot traffic, the top layer crusts over. It looks fine from ten feet away, but it’s now water-resistant. Rain hits it and runs off the side of the bed instead of soaking into the soil. Some wood mulches essentially cake into a barrier against the very moisture they’re supposed to conserve.
Don’t add fresh mulch on top of old mulch without loosening it first. A quick pass with a garden fork or stiff rake takes five minutes and completely changes how well your new layer performs all season. It also tells you how much old mulch is still there, so you don’t over-apply and unknowingly smother your plants. Speaking of smothering – #13 is about a mulching mistake that’s quietly killing trees across every American suburb.
#13 – Never Build a “Mulch Volcano” Around Your Trees
Drive through any American suburb and you’ll see it: mulch piled in a fat cone shape right up against every tree trunk on the block. It looks intentional. It looks like someone cares. According to arborists, it’s one of the most damaging things you can do to a tree. When mulch contacts bark, it traps moisture against the cambium – the thin tissue responsible for moving water and nutrients through the entire tree – and that trapped moisture invites fungal rot and bark disease.
The International Society of Arboriculture identifies volcano mulching as a leading preventable cause of premature tree decline. On top of the rot risk, mounded mulch creates nesting conditions for voles and mice, which gnaw on bark at the base of the trunk. The fix is simple: apply mulch in a flat donut shape – no mulch touching the trunk, a clear gap around the base, coverage extending out over the root zone. It takes the same effort and saves the tree. But mulch against stems isn’t just a tree problem – #12 shows how it quietly wrecks perennials and shrubs too.
Fast Facts: Mulch Volcano Damage
- Mulch should never touch bark – leave a clear 2- to 3-inch gap at the trunk
- Trapped moisture against the cambium can invite fungal rot within a single season
- Mounded mulch is prime real estate for voles and mice that chew bark at ground level
- The correct shape is a flat donut – wide and level, not piled high
- Extend coverage outward over the root zone, not upward against the trunk
#12 – Keep Mulch Several Inches Away From All Plant Stems, Not Just Trees
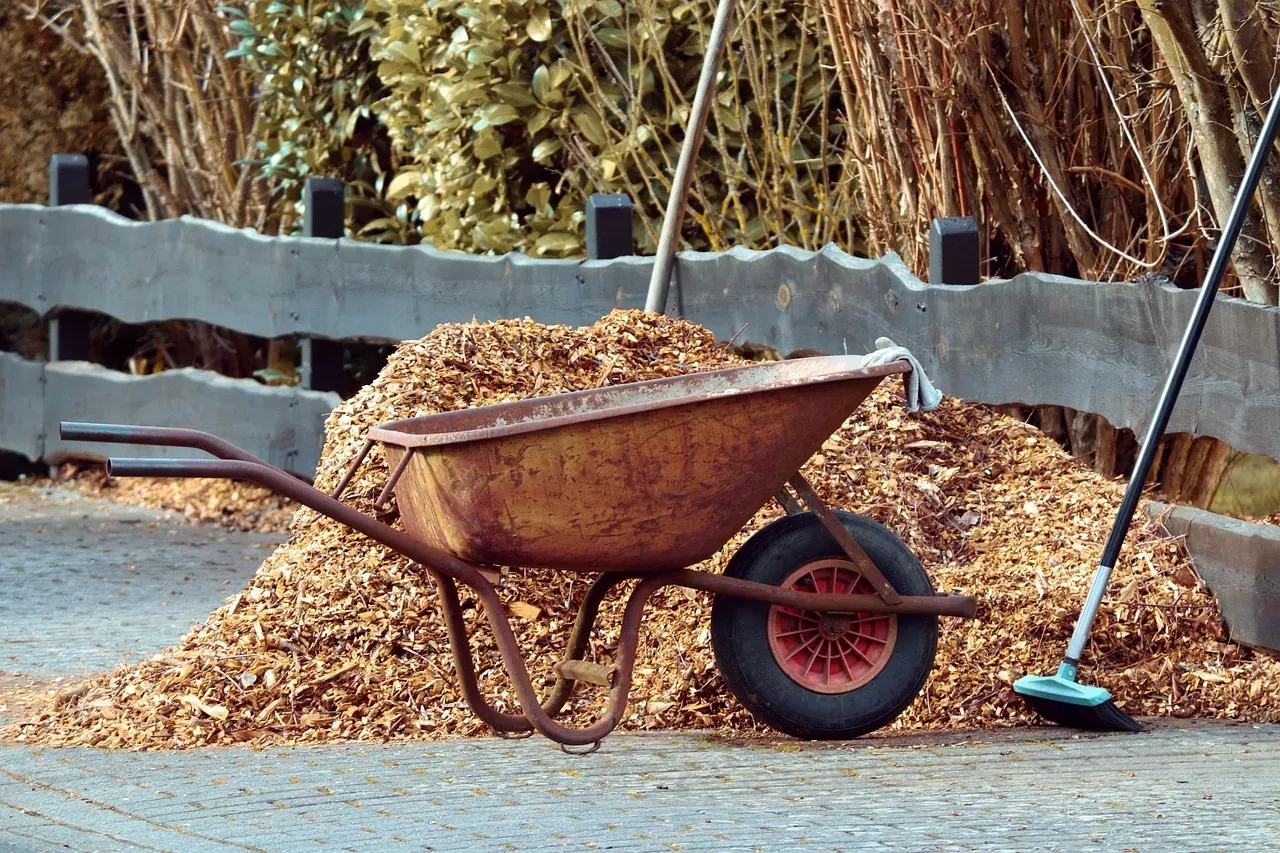
The same logic that makes mulch volcanoes deadly for trees applies to every woody stem in your garden. Moisture trapped against a stem – especially going into fall and winter – creates exactly the warm, wet environment that fungal disease and bark-boring insects love most. Shrubs, roses, perennials, and fruit trees are all vulnerable to the same slow rot.
The fix is easy and costs nothing: leave a clear 2-to-3-inch buffer around the base of anything you care about. Most gardeners who lose perennials to mysterious winter death have actually been slowly rotting their crowns under mulch for years without realizing it. A small gap saves plants you’ve spent years establishing. Now, #11 is the underlayer trick that dramatically multiplies everything mulch already does – and it costs almost nothing.
#11 – Lay Cardboard Under Your Mulch to Create a Two-Layer Weed Barrier
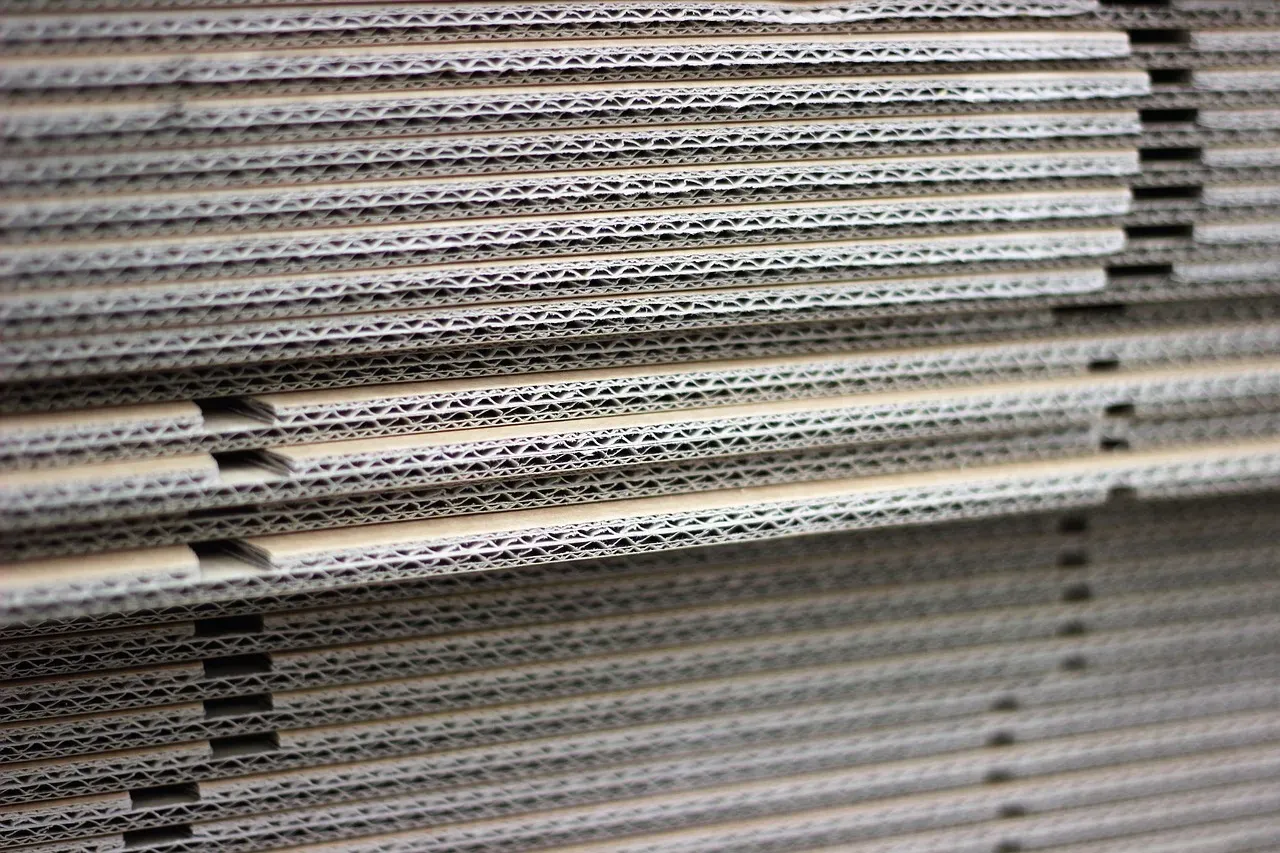
This is the move that serious no-dig gardeners swear by, and it outperforms almost any landscaping fabric you’ll find at a hardware store. Lay flat sheets of plain brown corrugated cardboard directly on the soil, wet them down so they stay put, overlap the edges by at least 8 inches, then cover with mulch. A Texas A&M AgriLife Extension specialist describes sheet mulching as “a simple, effective method that suppresses weeds and gradually enriches soil” – and the enriching part is what surprises most people.
Earthworms flock to wet cardboard and devour it, aerating the soil and depositing nutrient-rich castings as they go. You’re not just blocking weeds – you’re actively improving the ground underneath. Use plain brown corrugated boxes: shipping cartons, moving boxes, appliance packaging. Remove all tape and labels, and skip anything glossy or coated. Newspaper works in tighter spots too – and #10 shows exactly how to deploy it between established plants.
#10 – Use Newspaper as a Lighter-Duty Sheet Mulch Between Established Plants

Cardboard is ideal for new beds, but it can be clunky to maneuver around established plants in tight spots. That’s where layers of plain newsprint shine. You need a lot of it – around 10 sheets thick – but wet layers will conform to the contours of your bed and stay put even on a breezy day. Overlap edges by at least 8 inches so weeds can’t find a gap to exploit.
As the newspaper biodegrades under the mulch, it adds organic matter and nutrients back into the soil – meaning you’re turning your weed problem into a soil-improvement project at the same time. One afternoon with a stack of old newspapers and a bag of wood chips can buy you a nearly weed-free bed for a full growing season. Stick to standard newsprint and skip the glossy inserts – those don’t break down cleanly. But there’s an edge technique that stops creeping lawn grass that no amount of cardboard can fix – and that’s #9.
Quick Compare: Sheet Mulch Options
- Corrugated cardboard: Best overall – thick, biodegradable, earthworm-friendly; works best around perennials
- Newspaper (10+ sheets): More flexible around tight spots and established plants; biodegrades faster
- Landscape fabric: Long-lasting but blocks soil improvement and eventually shreds into the bed
- No underlayer: Mulch alone still helps, but seeds in thin spots can still find light
#9 – Cut a Sharp Bed Edge First to Stop Grass From Creeping In
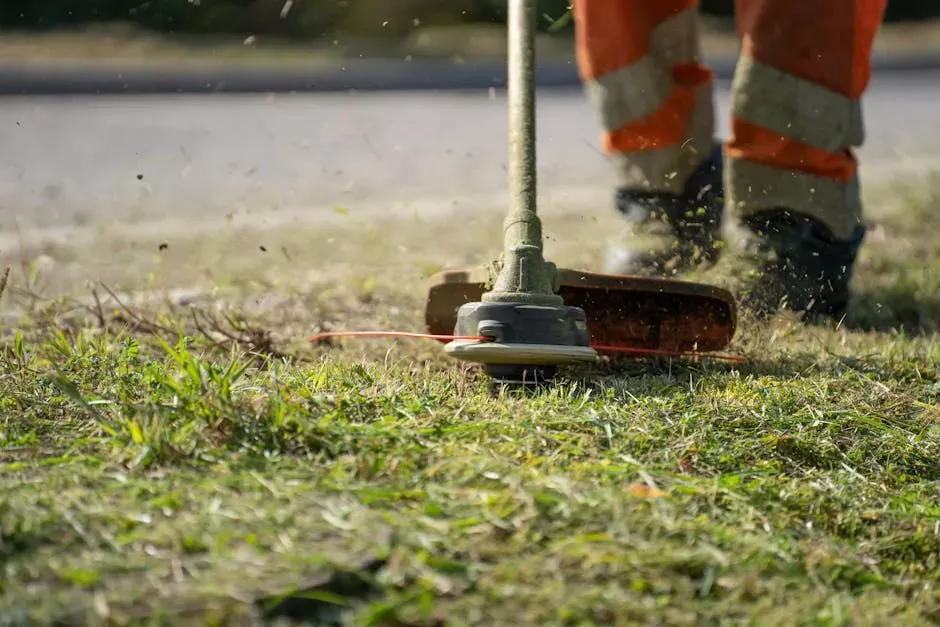
Here’s a frustrating truth: you can lay perfect mulch at perfect depth with perfect cardboard underneath, and creeping turf grasses will still find their way into your beds from the sides. They crawl in under the mulch edge like they’re on a mission. A crisp, maintained edge – cut with a half-moon edger or flat spade – physically stops that lateral invasion before it starts.
A sharp edge also catches mulch that would otherwise roll down into the lawn or onto the sidewalk, keeping your depth where you need it. Redo the edge once in spring and once in midsummer – it takes twenty minutes and saves hours of grassy weed removal. Those sidewall weeds don’t seed in from above; they creep in from the sides, which means edging stops them at the source. But once your bed is properly edged and mulched, there’s a free mulch source most people throw away every fall – and #8 will change how you look at leaf piles forever.
#8 – Shred Your Fall Leaves and Use Them as Free, Nutrient-Rich Mulch
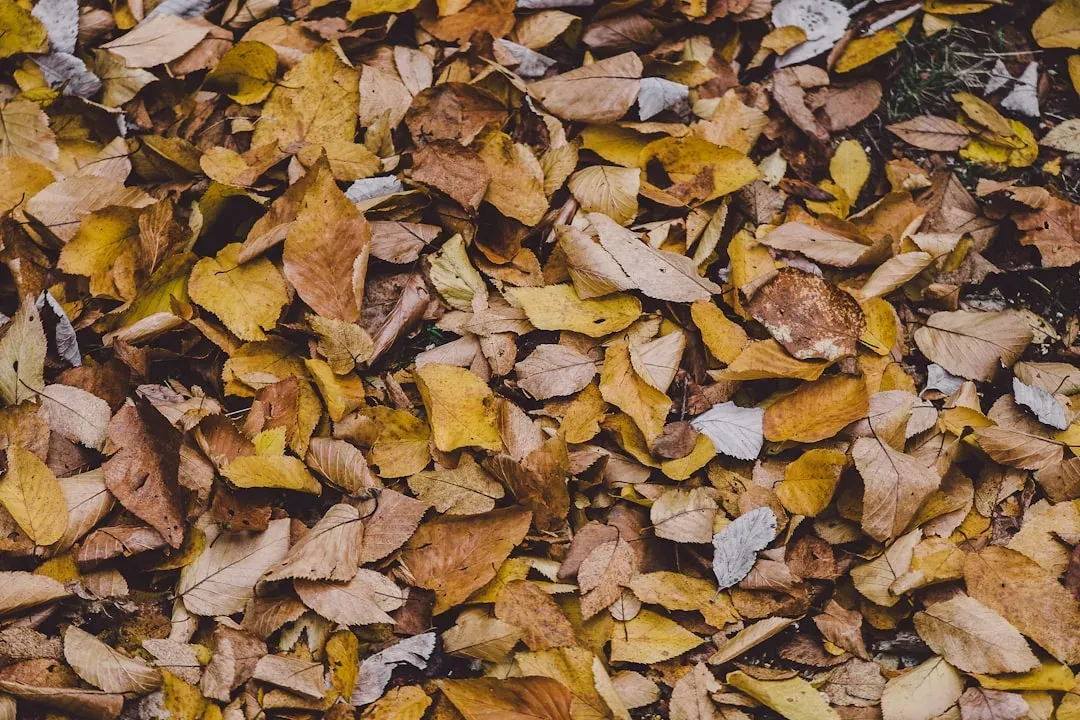
Every October, millions of American homeowners bag up what might be the best free mulch available and leave it at the curb. Shredded leaves – not whole leaves, which mat together and block water – make excellent mulch for flower beds, vegetable gardens, and tree rings. Run your mower over a pile two or three times before spreading; the smaller the pieces, the faster they break down and the better they perform.
Leaf-based mulches supply nitrogen to the planting bed as they decompose – meaning leaf mulch doesn’t just block weeds, it actively fertilizes the soil underneath while it breaks down. If you have maples, oaks, or elms in your yard, you have all the mulch you need for free. And #7 reveals another free source most gardeners walk right past, never realizing it’s one of the best mulches available anywhere.
#7 – Get Free Wood Chip Mulch From Local Arborists or Your Municipality
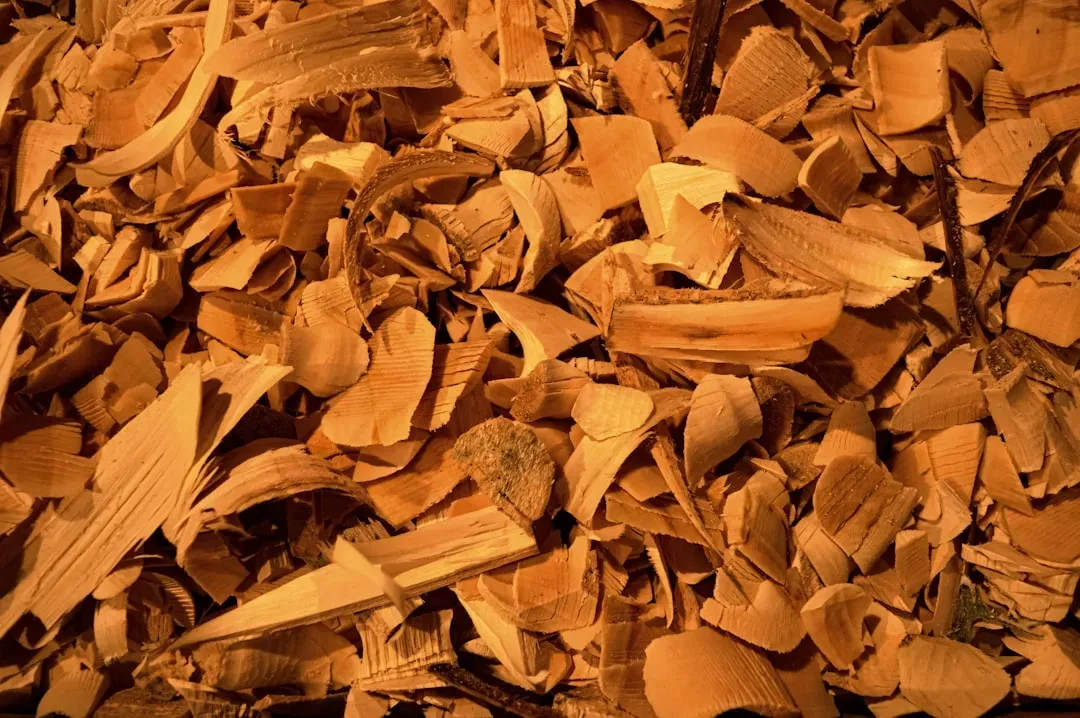
Bagged mulch from a big-box store is expensive, and the markup is real. A single cubic yard of bagged mulch can run $50 to $80 at retail – the same amount in bulk costs a fraction of that, and it’s often available completely free. Tree crews generate enormous amounts of fresh chipped material every day, and many are happy to drop a load in your driveway rather than haul it to a disposal facility. Your municipality may offer free or low-cost wood chips as well.
Fresh arborist chips – a mix of bark, wood, and leaves – actually outperform bagged bark mulch for soil health and long-term weed suppression. They decompose more slowly, resist compaction better, and support a wider range of soil microbes and organisms than fine-shredded bark. The only catch: don’t use fresh green chips directly against vegetable seedlings. That detail matters more than most people realize, and #6 explains exactly why – and what to use instead.
Worth Knowing: Free and Low-Cost Mulch Sources
- Arborist wood chips: Often free – search “ChipDrop” or ask local tree crews directly
- Municipal programs: Many cities offer free compost or chips at drop-off sites seasonally
- Shredded fall leaves: Free from your own yard; run a mower over them 2-3 times first
- Straw (not hay): Inexpensive at farm stores; ideal for vegetable beds and paths
- One cubic yard covers: About 100 square feet at a 3-inch depth
#6 – Match Your Mulch Type to What You’re Actually Growing
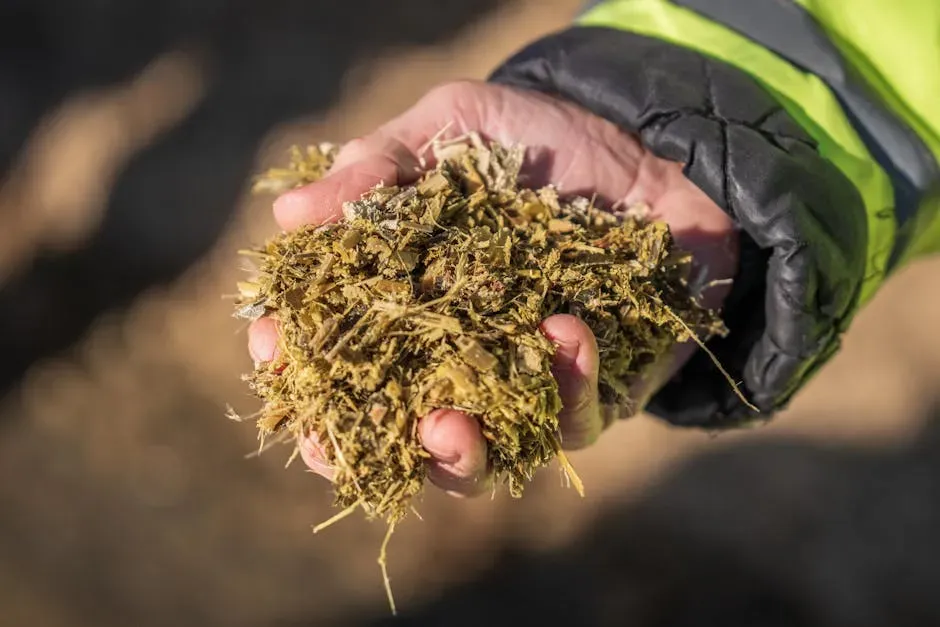
Wood chips are great for perennial beds and trees – but load them into a vegetable garden and you’re setting yourself up for a nitrogen problem. As fresh wood chips decompose, soil microbes temporarily consume nitrogen to break them down, pulling it away from your vegetables right when they need it most. For annual crops, the better choices are straw, compost, or finely shredded leaves – materials that break down quickly and enrich rather than compete.
For flower beds, shredded bark or wood chips maintain a polished look and provide longer-lasting suppression. For acid-loving plants like blueberries, azaleas, and rhododendrons, pine straw and pine bark lower soil pH as they decompose, which benefits those plants specifically. Getting the match wrong doesn’t just waste money – it can actively work against the plants you’re trying to help. And pine straw, it turns out, has a secret weapon that goes beyond pH – #5 reveals a benefit most gardeners have never heard of.
#5 – Pine Needle Mulch Has a Chemical Weed-Suppressing Superpower
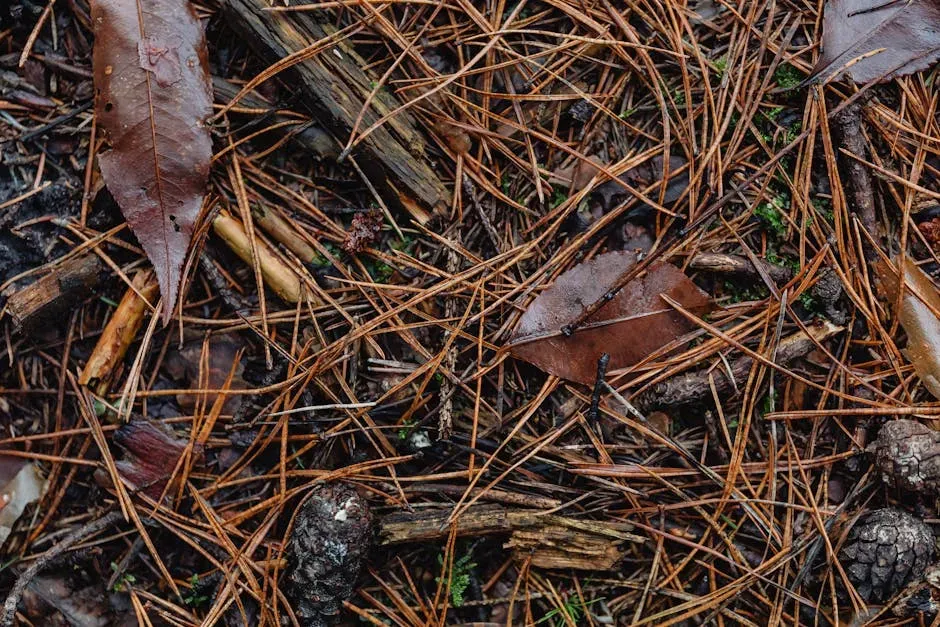
Pine needles do something no bagged bark mulch can claim: they contain natural compounds that actively suppress weed seedlings through allelopathy – meaning they chemically inhibit germination, not just by blocking sunlight. That’s a second layer of weed suppression built into the mulch itself. And contrary to the most persistent myth in gardening, pine needle mulch won’t meaningfully acidify your soil under normal use.
What pine needles will do is knit together into an interlocking mat that resists blowing and shifting – one of the most practical mulches for sloped beds or windy spots. They break down slowly, which means less frequent replenishment, and they stay put through heavy rain better than shredded wood. They’re especially underused in the South and Southeast, where they’re available in enormous quantities at little or no cost. But all good mulch eventually breaks down – and when it does, #4 explains why that decomposed layer can start growing weeds instead of stopping them.
#4 – Remove or Refresh Mulch Before It Decomposes Into Weed Soil
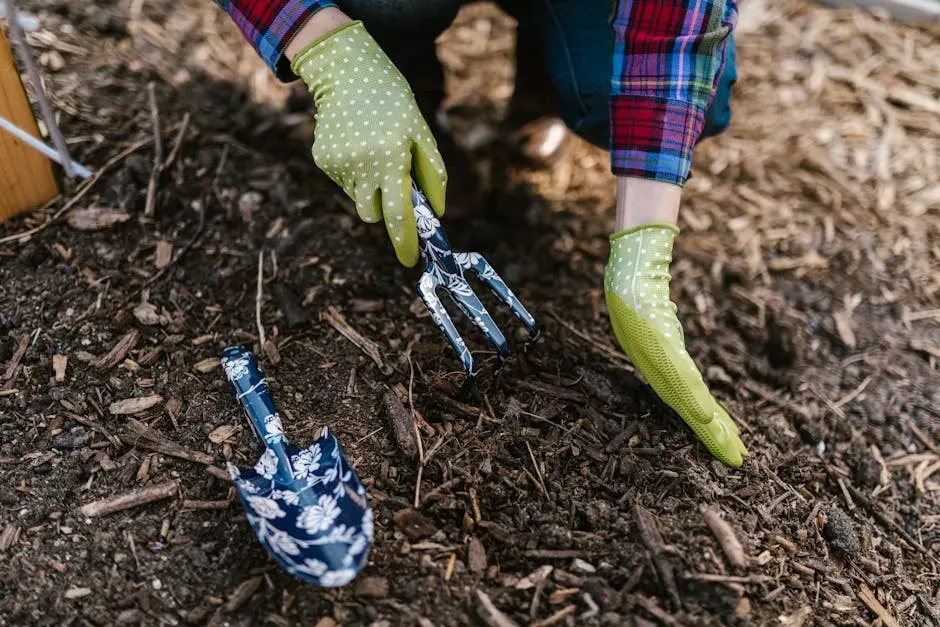
Here’s the plot twist nobody puts on a mulch bag: old, heavily decomposed mulch stops being a weed barrier and starts being a weed bed. When organic mulch breaks down far enough, it essentially becomes compost – a loose, nutrient-rich medium sitting on top of your soil, perfect for weed seeds landing from wind or birds. The very thing that was protecting your bed becomes the reason weeds are thriving in it.
Inspect mulch depth at the start of each growing season. If it’s fallen below 1.5 inches or turned dark, crumbly, and soil-like, rake up the worst of it before adding fresh material on top. You’re not just refreshing the look – you’re removing what has become a liability. Timing this refresh with a pre-emergent herbicide application is something advanced gardeners combine for devastating weed control, and #3 lays out exactly how that pairing works.
#3 – Combine Mulch With a Pre-Emergent for Season-Long Weed Suppression
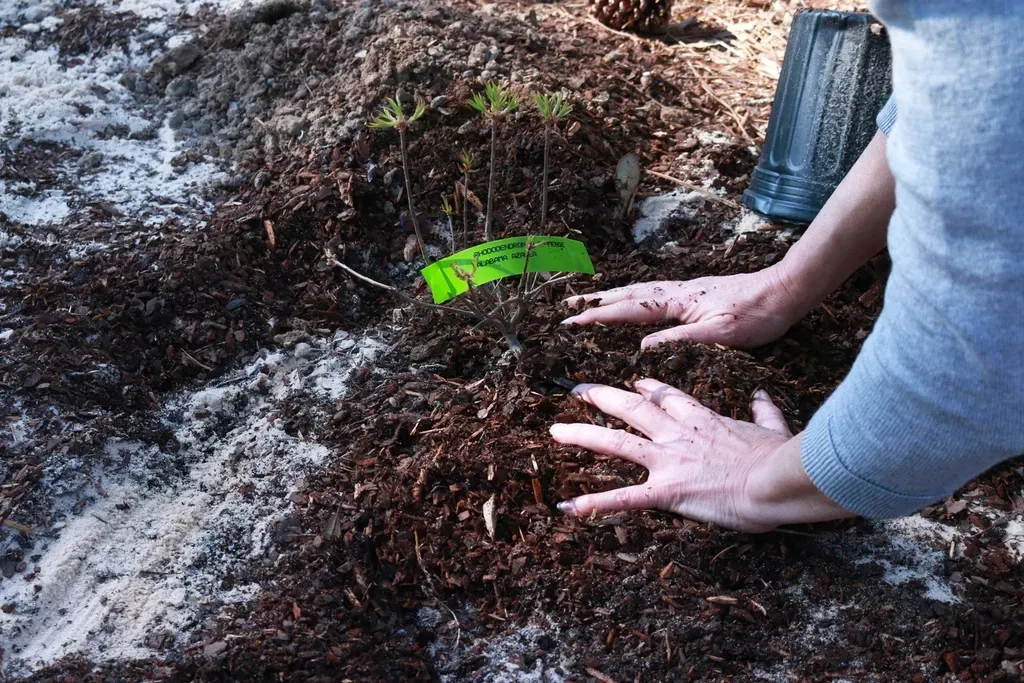
Mulch and pre-emergent herbicide together form a combination most home gardeners have never tried – and the difference in weed pressure is dramatic. Pre-emergents prevent weed seeds from germinating when applied before they sprout in early spring, but they do nothing for weeds already up. Mulch handles the light exclusion; pre-emergent handles the seeds that might still find light through thin spots or edges. Together, they cover each other’s weaknesses.
The technique: pull existing weeds, rake aside old mulch, apply the pre-emergent to the bare soil following the label directions carefully, then replace or refresh the mulch on top. Pay close attention to the label – some plants don’t tolerate certain pre-emergent formulations. This one spring ritual can cut your weeding for the entire season down to almost nothing. It’s the strategy that separates gardeners who maintain beds from those who barely need to. And the #2 secret is the one that most people are actively undoing without realizing it – every time they pick up a shovel.
#2 – Never Disturb the Soil More Than You Have To – You’re Waking Up Weed Seeds
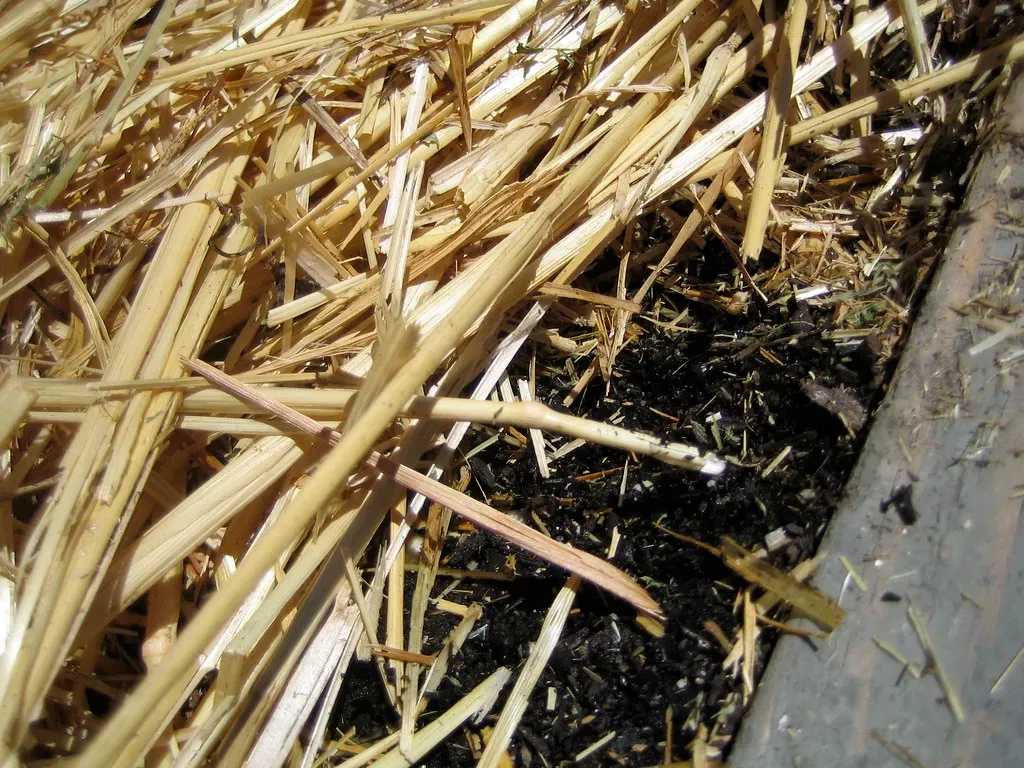
Every time you dig, turn, or till your garden soil, you’re doing something you probably didn’t intend: bringing dormant weed seeds up to the surface where light can trigger germination. Weed seeds can remain viable in soil for years – sometimes decades – just waiting. Turning the soil in spring is essentially serving them breakfast. The more you dig, the more weeds you invite, even in a bed you’ve been carefully mulching all season.
The solution experienced gardeners rely on is minimal disturbance – no-till or low-till methods that keep the soil profile intact and the seed bank buried in the dark where it belongs. When you must dig – to plant, to divide, to remove a deep-rooted weed – cover the disturbed area with mulch immediately, before the freshly turned soil gets enough light to wake anything up. The less you disturb, the less you weed. And now, the single most powerful mulching principle of all – the one that ties everything on this list together.
Why It Stands Out: No-Till + Mulch Together
- Weed seeds can stay dormant in soil for years – even decades – waiting for light
- Tilling just 2 inches deep is enough to bring a new flush of seeds to the germination zone
- Mulch applied immediately after any digging cuts off the light window before seeds activate
- No-till beds improve in weed pressure every season – the seed bank gradually depletes
#1 – Protect the Soil Surface Year-Round – Never Leave Bare Ground
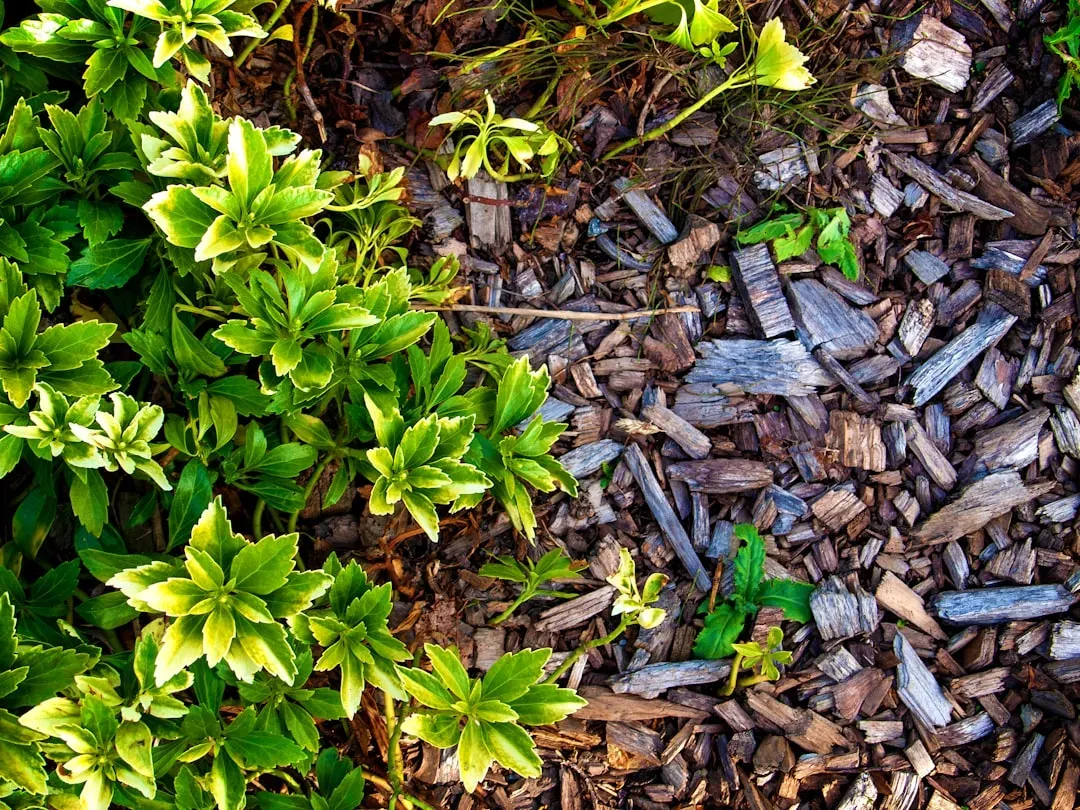
The principle that experienced low-weed gardeners come back to again and again is deceptively simple: bare soil is an open invitation, and nature will fill it – usually with whatever weed seeds are drifting through your yard. Most weed seeds cannot germinate without sunlight reaching the soil. The problem isn’t that people don’t mulch. It’s that they leave gaps, thin spots, and uncovered corners that function like weed welcome mats, and then wonder why the whole bed fills in.
The goal isn’t to mulch once in May and forget it – it’s to maintain continuous coverage through the season. Check depth periodically, top-dress when it drops, and never let the soil go into spring or fall exposed. Think of mulch maintenance like a roof: one bare patch in a thousand square feet is where all the trouble starts. Keep the ground covered, and weeds simply run out of options. A blanket of mulch suppresses annual weed seeds, reduces cultivation and hand-weeding, regulates soil temperature, and slows moisture loss – all at once, all season long.
The best mulchers aren’t the ones who work hardest in May. They’re the ones who think in systems – the right depth, the right material, the right underlayer, the right timing – and then barely touch their beds until the following year. Start with secret #18, work your way down to #1, and this could genuinely be the last summer you spend on your knees pulling weeds.