
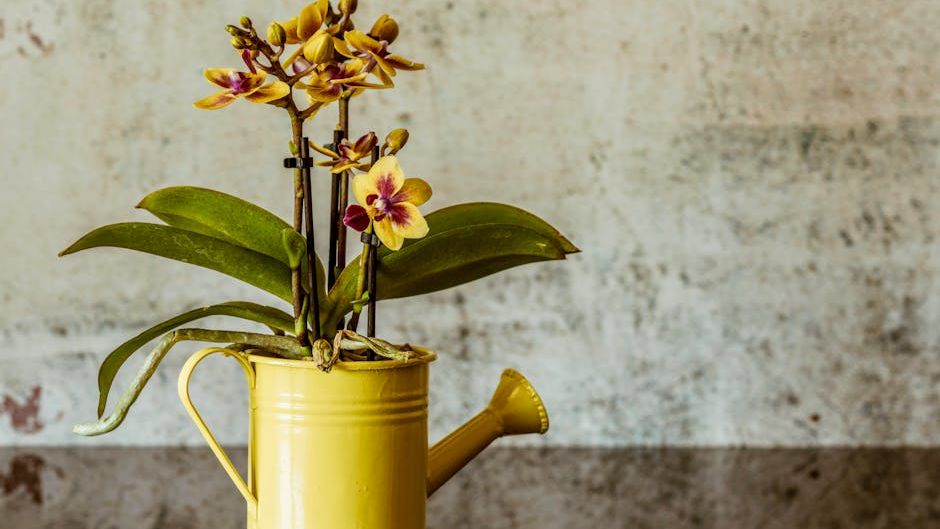
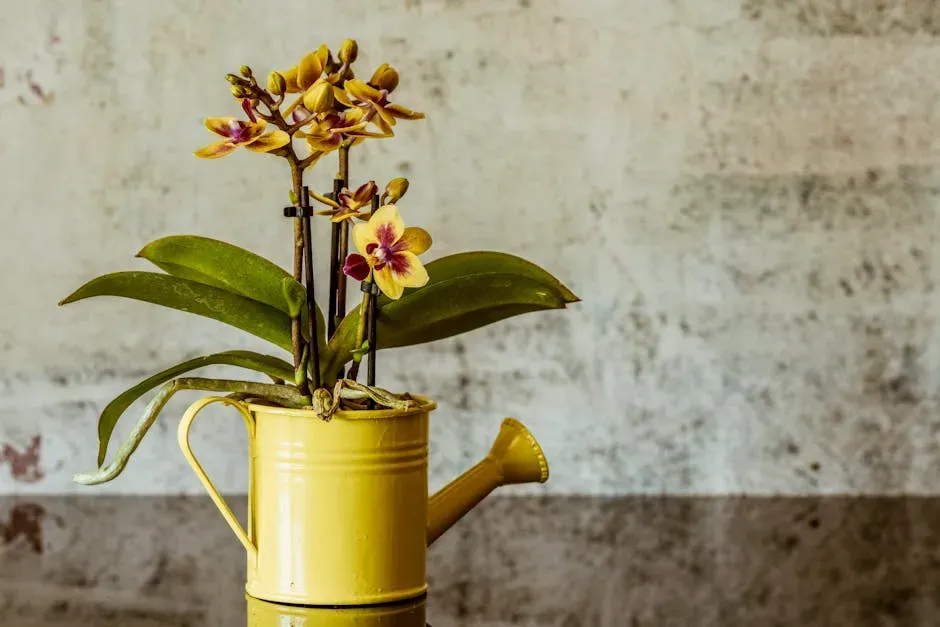
Most people throw out their orchid the moment the last flower drops. They see a bare stem and a pot of bark chips and decide the party is over. Here’s the thing: that “dead” orchid sitting on your windowsill is almost certainly alive. It’s resting. Once blooming ends, orchids enter a dormancy period where they quietly rebuild the energy reserves they burned to make those flowers – a cycle that naturally lasts six to nine months. That’s not failure. That’s biology doing exactly what it’s supposed to do.
But dormancy and “never blooming again” are two completely different things – and most home growers accidentally keep their orchid stuck in a permanent holding pattern by making a handful of specific, fixable mistakes. Professional growers know exactly which levers to pull to wake a dormant orchid back up. Almost none of them involve the banana-peel and coffee-grounds tricks flooding your social feed. Here’s what actually works.
#12 – Check the Roots Before You Do Anything Else
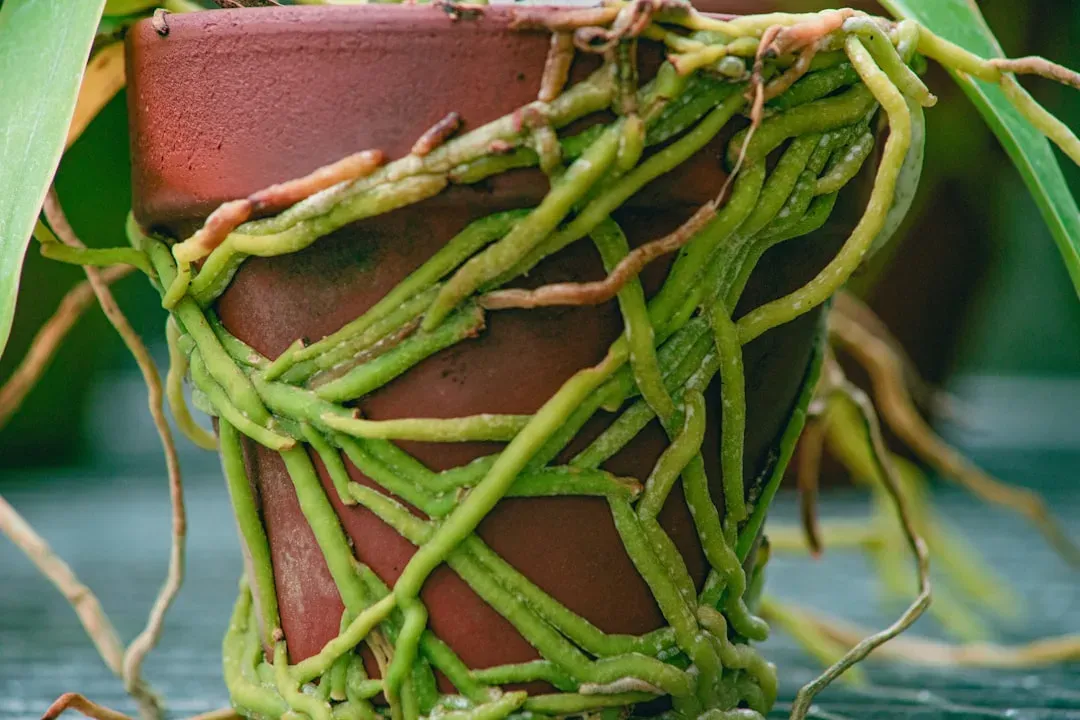
Before you touch the light, the temperature, or the fertilizer, you need to know whether your orchid has a functioning engine. Roots aren’t just anchors – they’re how your orchid drinks, breathes, and stores energy. Without healthy roots, blooms simply won’t happen, no matter what else you do. Lift the plant out of its pot and look closely. Healthy roots are firm and either bright green when wet or silvery-white when dry. Roots that are brown, soft, hollow, or mushy are dead and need to go.
Here’s the part that trips most people up: leaving dead roots in the pot creates a slow rot that infects the healthy ones. A plant with six strong roots will rebloom far more reliably than one with twenty roots of mixed health. Don’t be precious about cutting back damaged tissue. Use sterile scissors, remove everything suspect down to healthy tissue, and give the plant a real foundation to work from. This single step fixes more “stubborn” orchids than any other intervention – and it costs nothing but five minutes and a little nerve.
At a Glance: Root Health Check
- Healthy roots: firm, silvery-white when dry, bright green right after watering
- Dead roots: brown, mushy, hollow, or papery – remove all of them
- Tool tip: sterilize scissors with rubbing alcohol between cuts to stop bacterial spread
- Goal: even 4–6 strong roots give the plant a reliable foundation to spike from
#11 – Ditch the Old Bark and Repot into Fresh Mix
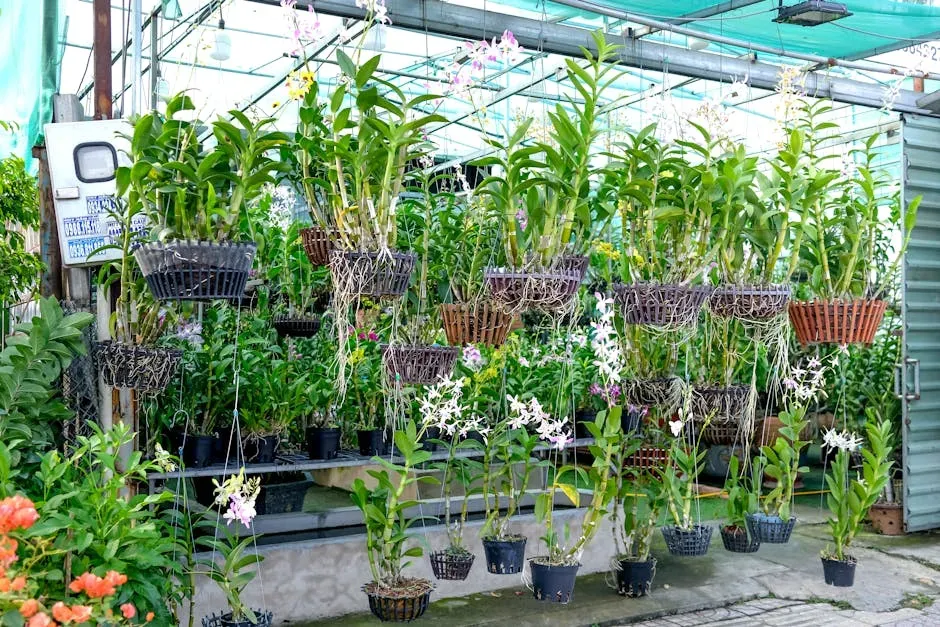
The potting medium your orchid came home in is probably working against it right now. Orchid bark deteriorates over roughly two years, breaking down into a dense, soggy mass that holds moisture like a sponge and suffocates roots. Decomposed bark is the single most common reason a dormant orchid never wakes back up – not neglect, not bad luck, just old medium quietly strangling the root system. A good orchid mix contains bark, perlite, and horticultural charcoal, and it should feel airy, not compacted.
After repotting into fresh mix, choose a pot only slightly larger than the root ball – oversized pots hold excess moisture and invite rot. Then don’t water for three to five days, so the cut root ends can callous over. One genuinely useful professional trick: use a clear plastic pot. Orchid roots contain chlorophyll and actually benefit from light exposure, which is why many commercial growers use transparent containers. It’s not aesthetic – it’s functional. But none of that matters if the next secret is still being ignored every time you pick up the watering can.
#10 – Stop Overwatering Immediately
Overwatering is statistically the number-one orchid killer, and it’s almost always misdiagnosed as a frequency problem when it’s really a drainage and attention problem. Most people water on a schedule – every Sunday, every few days – without ever checking whether the plant actually needs it. Orchids like to dry out slightly between waterings. In cooler months, once a week is usually plenty. In warmer months, every five to seven days. The bark should feel nearly dry before you add more water.
One detail most guides skip entirely: watch where the water lands. If you get the crown wet – the central growing point from which new leaves emerge – wipe it dry immediately with a paper towel. A crown that stays wet becomes a crown that rots, and crown rot will kill the plant faster than almost anything else. Bottom watering, where you set the pot in a bowl of water for fifteen minutes and let the roots drink from below, eliminates this risk entirely and is standard practice among serious growers. Once watering is dialed in, the next lever is one most home growers never think to use – and it doesn’t cost a single cent.
#9 – Engineer a Deliberate Day-to-Night Temperature Drop
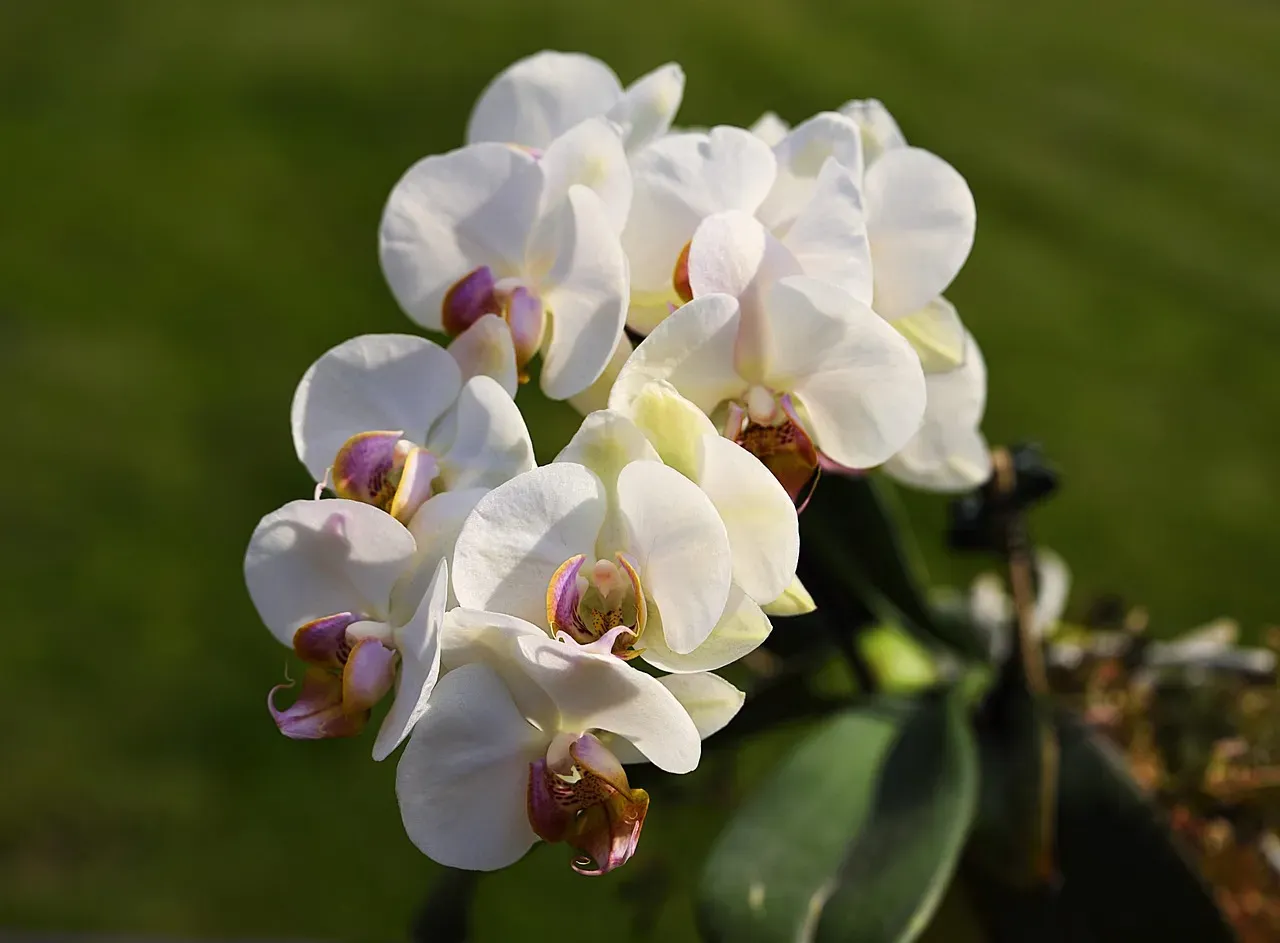
This is the single most under-used rebloom trigger in home orchid care, and the one professionals rely on most. Phalaenopsis orchids need a temperature differential between day and night to initiate flowering – specifically, a consistent 10 to 15°F drop after dark. This mimics the natural cooling cycle of their native rainforest habitat, where temperatures fall at night even in tropical climates. In homes where the thermostat is locked at a steady 70°F around the clock, the orchid simply never gets the signal to spike.
The fix is almost embarrassingly simple. After your orchid finishes blooming, move it to a cooler spot – around 60°F – for three to four weeks. Cracking a window before bed and closing it in the morning works in many climates. Setting the plant near a cool exterior wall at night works too. Results are often visible within weeks: a small green nub pushing out from between the leaves, which is the beginning of a new flower spike. Temperature alone won’t close the deal, though – it needs the right light to back it up, and most orchids in American homes are quietly starving for it.
Fast Facts: Temperature Trigger
- Target night temp: 55–60°F for four to six consecutive weeks
- A steady 70°F thermostat is enough to keep a Phalaenopsis permanently spiked in neutral – no bloom signal ever fires
- Once a spike starts forming, avoid further temperature swings – bud blast can occur from a single cold draft
- Cymbidiums need even cooler nights (45–50°F) to trigger blooming than Phalaenopsis do
#8 – Fix the Light Situation (Your Leaves Are Already Telling You)
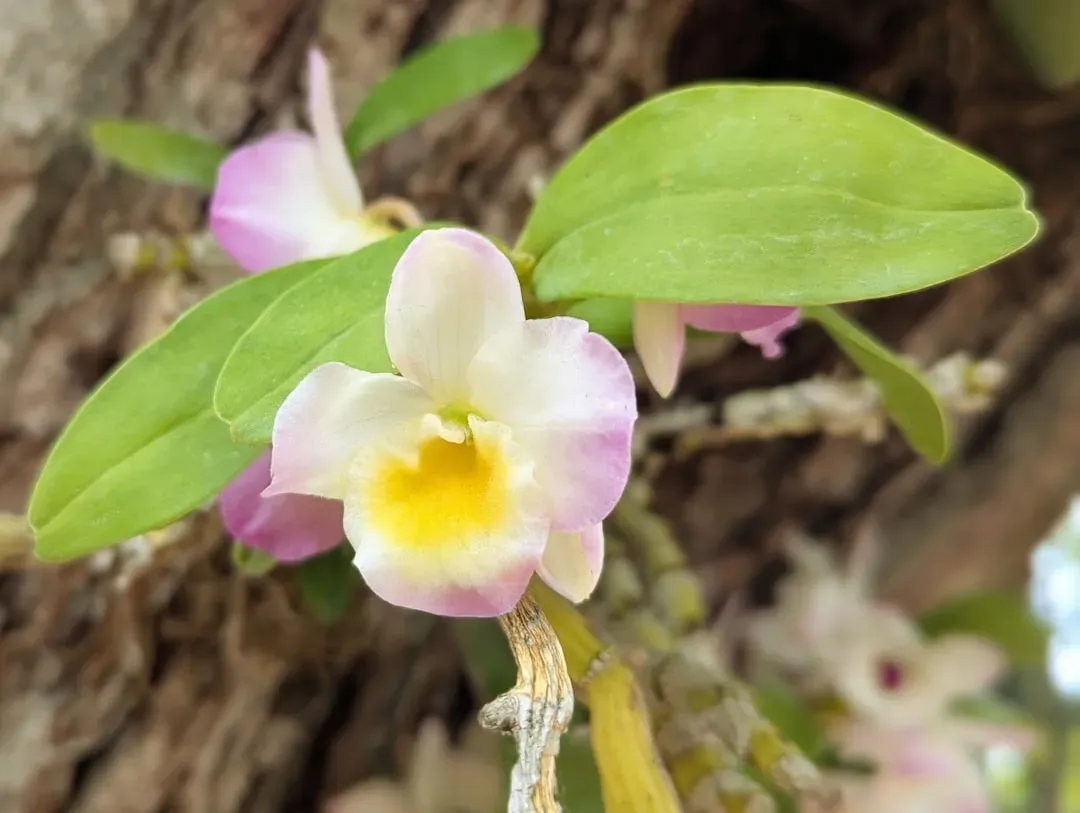
Most people believe their orchid is getting enough light. Most people are wrong, and the plant itself will tell you if you know how to read it. Leaf color is the professional grower’s fastest diagnostic tool. Dark green leaves mean the plant is light-starved and burning through stored energy just to survive. Medium to light green leaves – almost a yellow-green – mean light levels are close to ideal. The plant converts that light into the energy reserves it will eventually burn to produce a flower spike. No reserves, no spike, full stop.
East-facing windows are the gold standard for Phalaenopsis: bright morning light, no harsh afternoon sun, and at least six hours of indirect light daily. South or west windows work if you add a sheer curtain to diffuse the intensity. Direct sun will scorch the leaves within days. If your home genuinely can’t offer enough natural light – north-facing apartment, deep rooms, heavy tree cover – a dedicated grow light placed twelve to fourteen inches above the plant has brought orchids back into bloom after years of silence. It’s not a gimmick. It’s just photosynthesis math. But even perfect light won’t trigger blooms if you’re fertilizing with the wrong formula at the wrong time.
#7 – Fertilize Strategically, Not Constantly
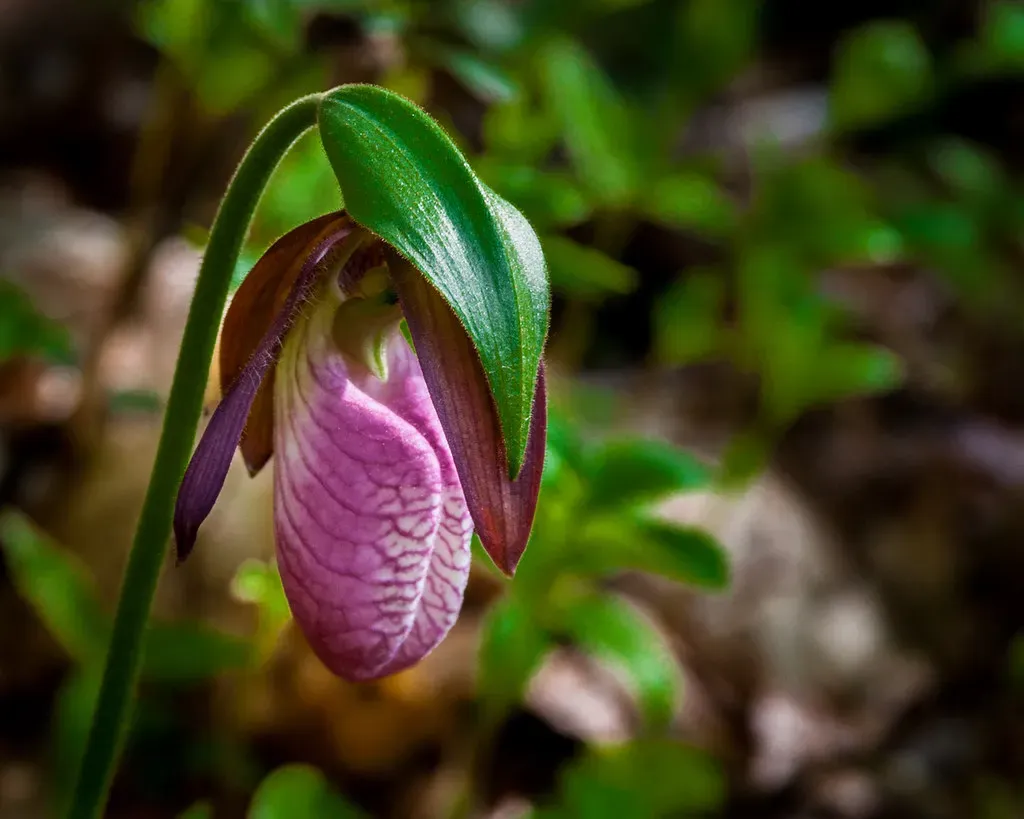
Grabbing a generic all-purpose fertilizer and adding it weekly is one of the most common ways well-meaning growers accidentally prevent reblooming. The ratio matters more than the frequency. During spring, summer, and fall, use a high-nitrogen formula – something close to 30-10-10 – if the plant is potted in bark. Nitrogen drives leaf and root growth, which builds the energy reserves the orchid will eventually spend on flowers. In winter, switch to a high-phosphorus formula around 10-30-20, which directly promotes bloom development.
Over-fertilizing is worse than under-fertilizing. Brown leaf tips and damaged roots are the telltale signs of too much fertilizer salt accumulating in the medium. Once a month, flush the bark thoroughly with plain water – no fertilizer – to wash those salts out. If you see white crusty deposits forming on the bark or pot rim, that’s salt buildup, and you should flush immediately. Once a new spike starts forming, switch to a bloom-booster formula with elevated phosphorus and hold it there until the last flower fully opens. Timing the spike cut after blooming ends is where even experienced growers leave real reblooms on the table.
Quick Compare: Fertilizer by Season
- Spring–Fall (growth phase): high-nitrogen formula ~30-10-10; feeds roots and leaves
- Winter (rest phase): switch to high-phosphorus ~10-30-20; high nitrogen during rest tells the plant to keep making foliage, not flowers
- Active spike: bloom-booster with elevated phosphorus until the last flower opens
- Monthly: plain-water flush to clear salt buildup from the bark
#6 – Prune the Spike the Right Way (This One Decision Matters Enormously)
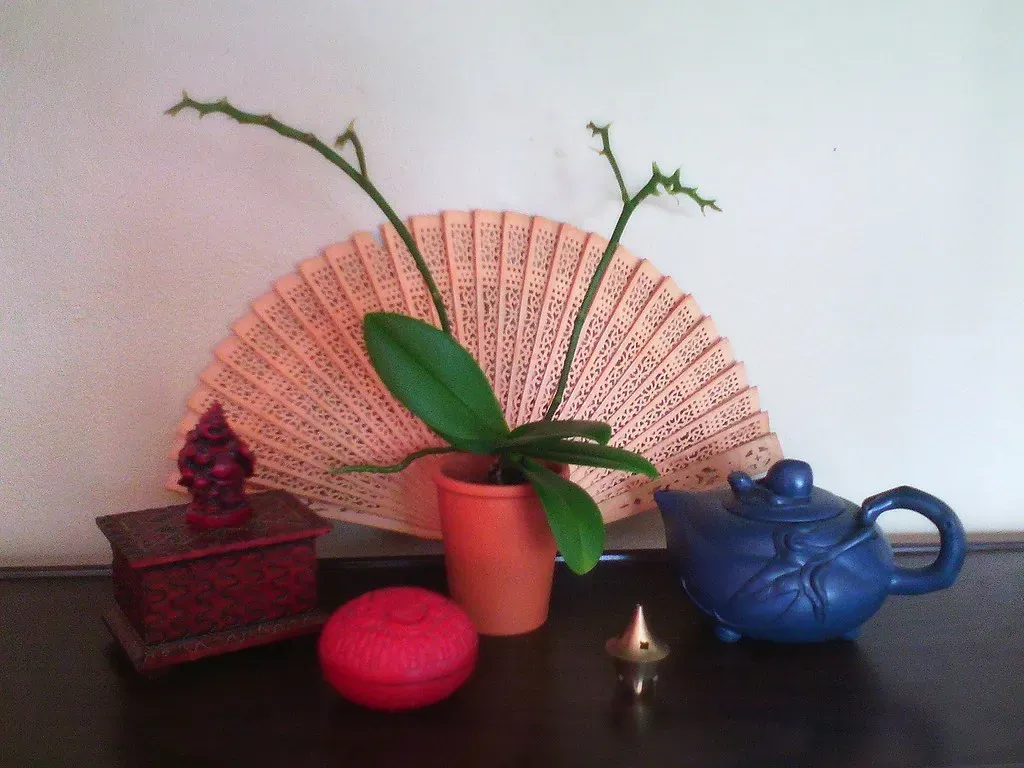
When the last bloom drops, most people either cut the entire spike down to the base immediately or leave it completely alone. Both choices can cost you a second round of flowers. A spike that is still green and firm has genuine potential – Phalaenopsis can rebloom directly from existing nodes without producing a brand-new spike from the base. If the spike is still green after blooming ends, cut it back just above the second or third node from the base, leaving that node intact. It will often push a secondary bloom branch within weeks.
If the spike has already re-flowered once before, or if it has turned brown and papery, cut it all the way down to the base. The plant will eventually produce a fresh spike from between the leaves. After any cut, dust the wound immediately with cinnamon – it’s a genuine natural antifungal that prevents bacterial infection at the cut site, and it’s used by orchid hobbyists worldwide. The rule of thumb is simple: green spike, cut above a node; brown spike, cut to the base; always dust with cinnamon. The humidity issue coming up next is one most American homes get badly wrong without realizing it.
#5 – Raise the Humidity Without Drowning the Roots
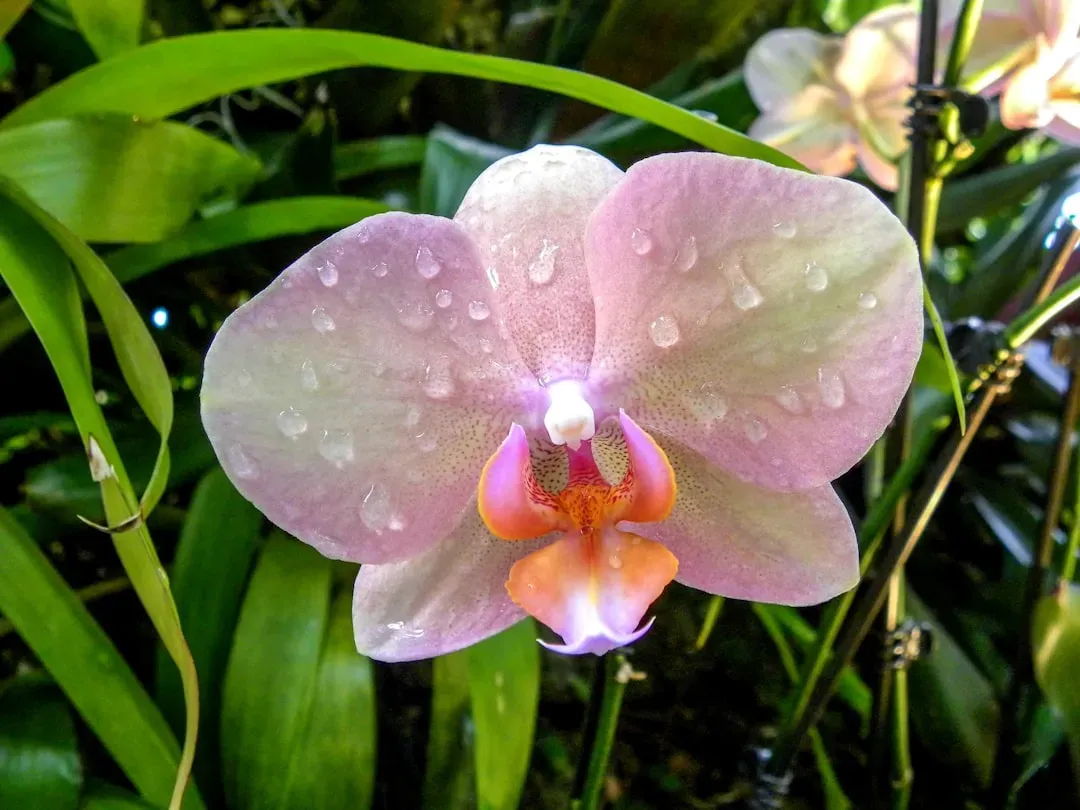
Central heating is an orchid’s silent enemy. It strips moisture from indoor air and pushes humidity levels well below the 40 to 70 percent range that tropical orchids evolved to live in. The fix most guides suggest – a pebble tray filled with water placed under the pot – is genuinely effective and costs almost nothing. The pot sits above the waterline on the pebbles, so roots stay dry while the evaporating water raises the humidity of the air directly around the plant. It’s low-tech and it works.
There’s also a location trick that professional growers consider one of the most structurally sound rebloom strategies for home environments: a bright bathroom. The combination of regular steam from showers, ambient warmth, and a window that provides filtered light creates conditions remarkably close to an orchid’s native habitat. The critical distinction to keep in mind is that “humidity” means moisture in the air around the plant – not moisture at the roots. Those are completely different things, and confusing them is exactly what causes root rot. The next secret involves an invisible threat most growers have never even considered – one that silently destroys buds before they ever open.
#4 – Keep Your Orchid Away From Fruit Bowls and Gas Appliances
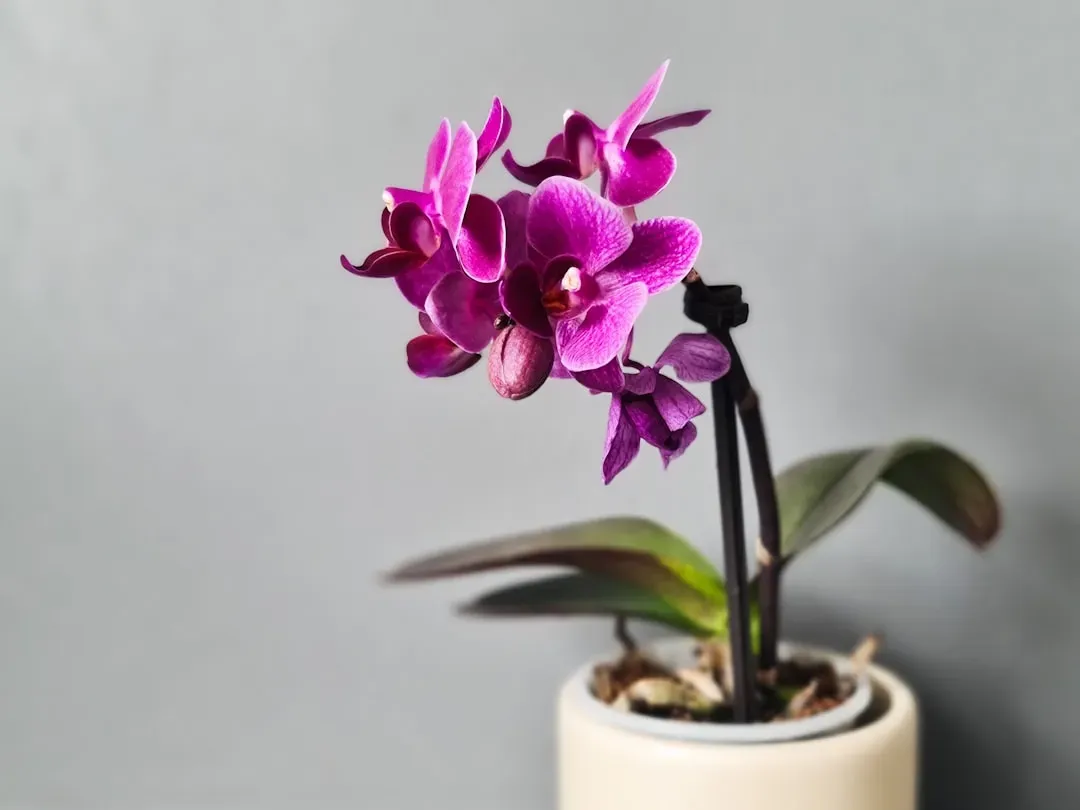
This one sounds almost absurd the first time you hear it – until you watch a perfectly healthy orchid drop every single bud before they open, for no apparent reason. The phenomenon is called bud blast, and the culprit is often ethylene gas: an invisible, odorless compound produced naturally by ripening fruit and emitted by gas stoves, scented candles, and cigarette smoke. Bud blast is maddening precisely because the plant looks healthy, the care looks right, and the cause is completely invisible.
Commercial orchid growers keep their facilities meticulously free of ethylene sources – that’s not a coincidence. A fruit bowl sitting two feet from your orchid can silently prevent every bud from opening for an entire season. Bananas, apples, and avocados are especially heavy ethylene producers. Move orchids away from the kitchen during ripening season, away from gas appliances, and away from heating vents and cold drafts near windows. That last one matters too – sudden temperature swings from drafts are a separate but equally common bud-blast trigger. These small spatial adjustments alone have saved reblooms for growers who had already tried everything else.
Worth Knowing: Bud Blast Triggers
- Ethylene sources: ripening bananas, apples, and avocados; gas stoves; scented candles; cigarette smoke
- Temperature culprits: heating vents, cold drafts from exterior windows or doors
- Why it’s so frustrating: the plant looks perfectly healthy right up until every bud drops
- Easy fix: move the orchid at least 3–4 feet from any ethylene source before buds form
#3 – Read Your Orchid’s New Growth Signals Before Moving to Bloom Mode
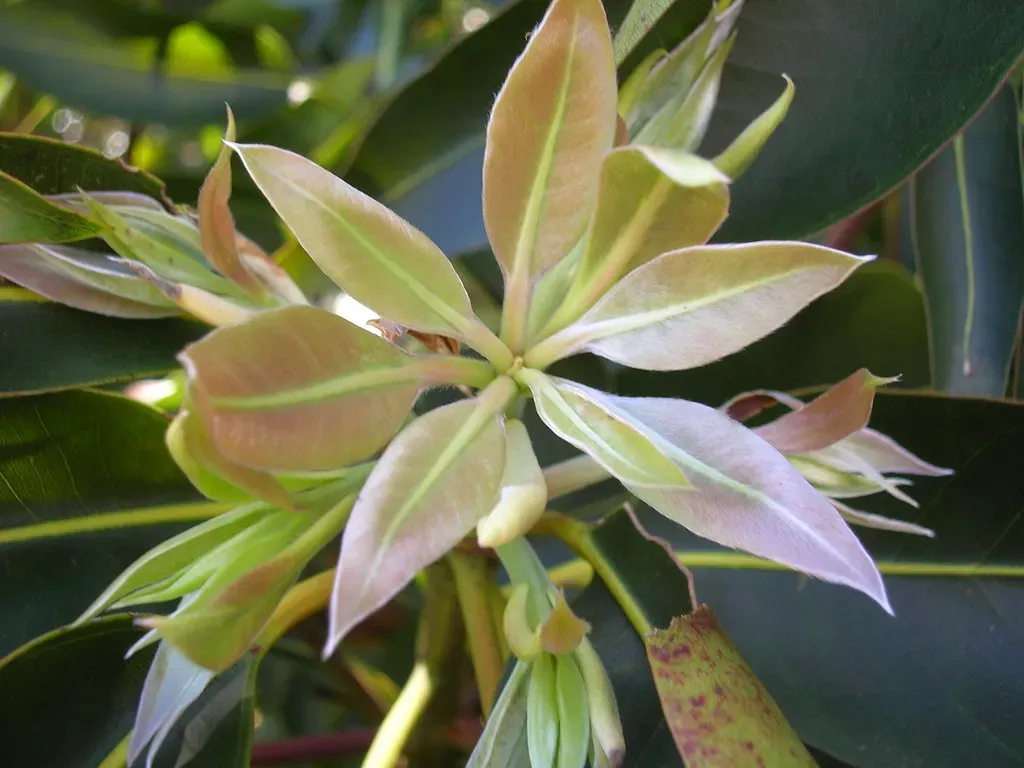
One of the most common mistakes even experienced growers make is pushing a plant toward bloom before it’s genuinely ready – and then interpreting the plant’s non-response as a failure of technique. The orchid itself tells you when it’s close, if you know what to look for. New leaves emerging from the base and fresh root tips showing bright green are the plant’s way of signaling that it’s actively rebuilding energy reserves. That’s the green light. A plant that’s still dormant and showing no new growth isn’t ready to be pushed – it’s still recovering.
Once you do spot a new spike forming – a small, mitten-shaped nub pushing up from between the lower leaves – resist every urge to change anything about the plant’s environment. From the first visible spike to fully open flowers typically takes eight to twelve weeks. During that window, stability is everything. Moving the plant, adjusting light, or changing the watering schedule can cause the spike to abort. Put the plant somewhere it’s comfortable, leave it there, and let it finish the job. The second-most-powerful professional secret is a hormone-based technique that most home growers have never even heard of.
#2 – Use Keiki Paste to Force a Dormant Node Back to Life
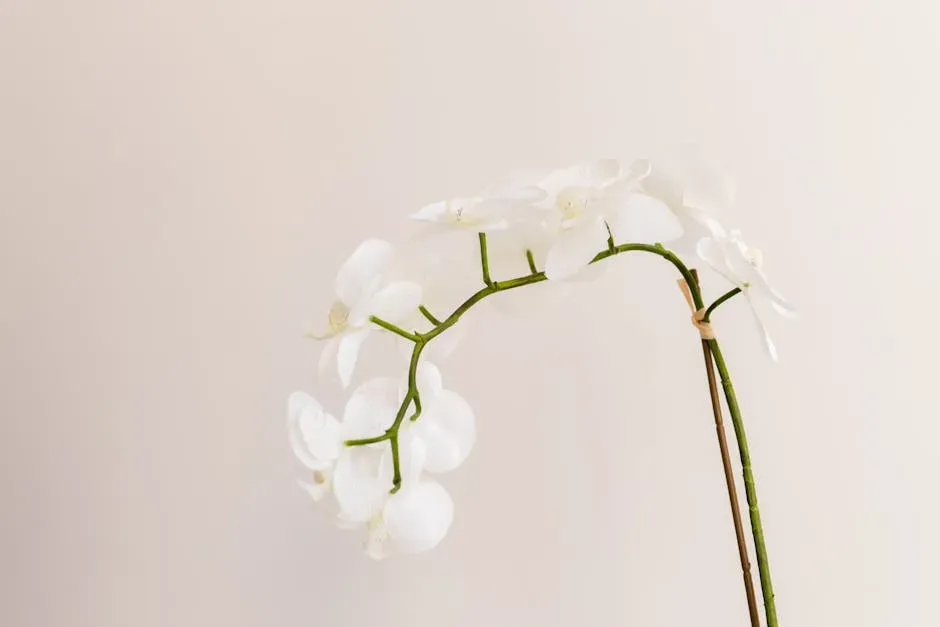
When temperature drops and adjusted light still haven’t produced a spike after several months, professional growers reach for a tool that’s barely known outside serious hobbyist circles: keiki paste. Keiki paste contains cytokinin, a plant hormone that stimulates cell division. Applied directly to a dormant node on an orchid spike, it can force that node to produce either a new flower spike or a keiki – a genetically identical baby orchid that grows directly on the mother plant. The application is straightforward: scrape away the small protective scale covering the node, apply a grain-of-rice-sized dab of paste to the exposed surface, and check back in four to six weeks.
This is not a folk remedy or a social-media trend. Cytokinin is a well-documented plant hormone used in commercial horticulture, and keiki paste is the same class of compound used in professional propagation. The paste is widely available online for under fifteen dollars and works on plants that have been stubbornly leafy for over a year. It doesn’t work every time, but the results when it does are genuinely impressive – the keiki will flower in the same color and pattern as the mother plant, making it a perfect clone. What you’re doing is overriding the plant’s internal hesitation with a direct hormonal command. The single most important rebloom secret, though, is the one most growers never fully commit to.
Fast Facts: Keiki Paste
- Active ingredient: cytokinin – a plant hormone that triggers cell division at dormant nodes
- Word origin: “keiki” is Hawaiian for “baby” or “child”
- Two possible results: a new flower spike (apply higher on spike) or a baby orchid clone (apply lower, near leaf nodes)
- Timeline: tiny buds or growth typically visible in 3–6 weeks after application
- Cost: most commercial keiki pastes run under $15 online and cover multiple applications
#1 – Respect the Full Dormancy Cycle Instead of Fighting It
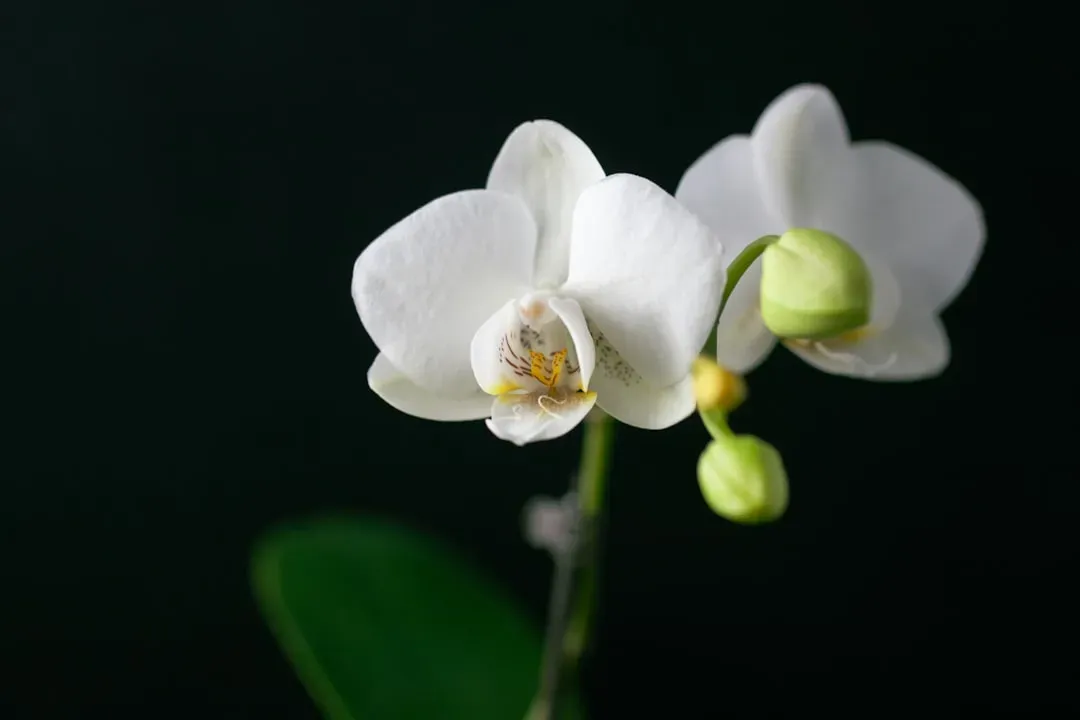
Every professional orchid grower will tell you the same thing: the biggest mistake isn’t poor watering or bad light – it’s impatience. Dormancy is not a problem to solve. It’s the phase where your Phalaenopsis replaces the nutrients it burned to produce flowers, storing energy in its leaves and roots until the conditions are right to spike again. That cycle takes six to nine months in a healthy plant. Growers who accept this rhythm – instead of constantly repositioning, repotting, and second-guessing during it – are the ones who end up with the most spectacular comebacks.
“Orchids follow a cycle much like seasons in nature. When that rhythm is respected, reblooming becomes far less mysterious and far more reliable.”
Westerlay Orchids
A healthy, well-cared-for Phalaenopsis can bloom reliably for decades – but only if its owner stops treating the quiet phase as a crisis and starts treating it as preparation. That single mindset shift separates growers who see flowers every year from those who keep buying replacements at the garden center. The secret was never really about the paste or the pebble tray or the temperature trick. It was always about trusting the plant to know what it’s doing.
The truth about orchid reblooming is less about magic tricks and more about stopping work against the plant. Check the roots first. Fresh bark, correct light, a real temperature drop at night, strategic fertilizing, proper spike pruning, and honest patience – those are the levers that actually move the needle. The growers who get blooms year after year aren’t doing anything exotic. They’re doing the basics precisely, consistently, and without panic. If you’ve managed to rebloom an orchid everyone else had written off, drop your story in the comments – there might be a trick in there the rest of us haven’t tried yet.